Laptop + GNOME + NFS
I’ve been using NFS for connecting to my storage for years. Mostly this has been on the desktop but recently I got a laptop and of course it had to have Linux (Fedora + GNOME). I quickly realized that using NFS was going to be problematic because of the nature of the mounting.
/etc/fstab method
- Pros
- I could mount to any mountpoint
- Everything “just worked” in terms of accessibility
- Same method I would use on a server
- Cons
- If not on my network, system would hang on boot for the mounts
- System would hang on resume for a period of time while WiFi reconnected
So I tried using GVFS, which is the GNOME solution to this.

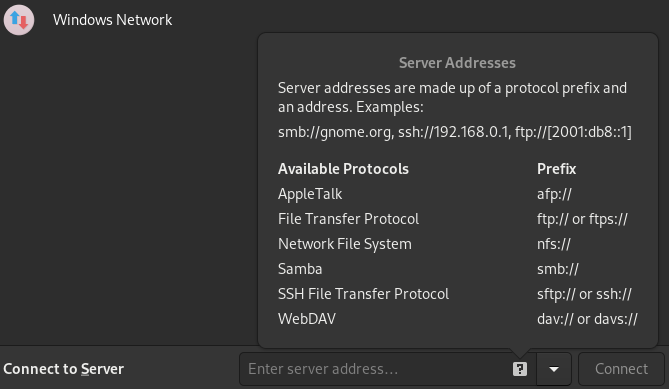
GNOME will mount a wide variety of filesystems as GVFS
GVFS method
- Pros
- No more hangs on boot or resume
- NFS was only mounted when it was needed
- Cons
- If the mounts are pinned, you cannot access them from the places menu (operation not supported error)
- Certain applications (KeePass) had trouble writing to the GVFS mount
- Root user cannot read data mounted for a user on GVFS – this makes it hard to use KVM, dd, or other tools against NFS data
Finally after looking and looking I found a solution, systemd.automount.
#/etc/systemd/system/media.mount

[Unit]
Description= Media Mount
StartLimitIntervalSec=10s
StartLimitBurst=3

[Mount]
What=server.host:/storage/exports/media
Where=/media
Type=nfs
TimeoutSec=2s
ForceUnmount=yes

[Install]
WantedBy=multi-user.target
#/etc/systemd/system/media.automount

[Unit]
Description= Media Automount

[Automount]
Where=/media
TimeoutIdleSec=1m 30s

[Install]
WantedBy=multi-user.target
$ sudo vim /etc/systemd/system/media.mount (use example above)
$ sudo vim /etc/systemd/system/media.automount (use example above)
$ sudo systemctl daemon-reload
$ sudo systemctl enable media.automount
$ sudo systemctl start media.automount
$ cd /media
Notice you don’t even have to create the mountpoint (although most systems have a /media), systemd will create the mountpoint for you if it does not exist.
Lets explain a few of the options:
StartLimitIntervalSec=10 & StartLimitBurst=3- Limit the number of times a “start” operation is done on
media.mountto no more than 3 times in 10 seconds
- Limit the number of times a “start” operation is done on
TimeoutSec=2s- If the mount does not succeed within 2 seconds, kill the mount process
ForceUnmount=yes- When unmounting, use the force option in case the NFS server is unresponsive
TimeoutIdleSec=1m 30s- Try to unmount the filesystem if its not used within 1.5 minutes
How it works: instead of enabling and starting the actual mount, you enable the automount. The automount sits and waits for anything to access the directory where it’s configured to mount. Once something tries to access that directory it will start the mount. If the mount takes longer than 2 seconds, it’s considered failed. After three attempts, a total of 6 seconds, a error is returned when the .mount unit fails. I also configured it to proactively unmount after 1.5 minutes.
Why use those options? Without limiting the mount duration and timeouts, you may be left with the desktop or file browser hanging while its trying this mount in the background. I wanted it to try, quickly, a few times – if its not going to work in 3x over 6 seconds then its probably not going to work at all. Then bail out for this session. Subsequent attempts to access the same directory will start the process over again, but the goal is failing quickly instead of hanging. And I feel that proactively unmounting quickly will avoid issues on startup/shutdown and suspend/resume. There are still cases where you could hang on resume if the mount was active on suspend and is no longer responding. With making the window as small as I can, I’m hoping to avoid this.
